Nah not the crisps....
Hi all

A little while back I bought some TT Combat mdf kits for my Urban Project. These included the Bus Stops, Play Park and Refuse Skips. I finally got around to putting a couple of the bits together and I thought I'd start with a quick win - the skips. These are a really nice kit and for £4 I think a real bargain. I have two gripes only, firstly and this is only a minor thing - they have branded the side of the skips with company names, this is fine but it means I was unable to use the name of local companies to me which would have been more meaningful for my very local campaign. Secondly and most importantly - the scale, these kits are big! billed as suitable for 28mm - 32mm they are definitely on the top end of that scale! clearly aimed at the Knights Models games Batman the Miniatures Game and the like. Come on TT Combat, there are a lot of other games out there other than BMTMG! It goes to show the scale creep that is really prevalent in modern miniatures gaming at the moment. Anyway the negatives to one side, I actually really like the models and they are dead simple to put together and to paint. They also gave me a chance to practice some new (for me) weathering techniques. So this is how I did it, don't forget that this was the first time I did these techniques so be gentle....
First of all I primed the model with a grey car primer
I then mixed up a metallic rust brown paint, made up from Vallejo "Saddle Brown", "Orange Brown" and some GW "Runefang Silver". Once I got the colour I liked, I added it to the areas I would be most likely to weather.
I then gave the whole model two coats of hairspray (which I had to buy, much to the amusement of the cashier at ASDA). Once each coat was dry, I covered the model in the colour I wanted the skip to be, in this case a mix of cheap acrylic paint and GW "Tallarn Yellow".
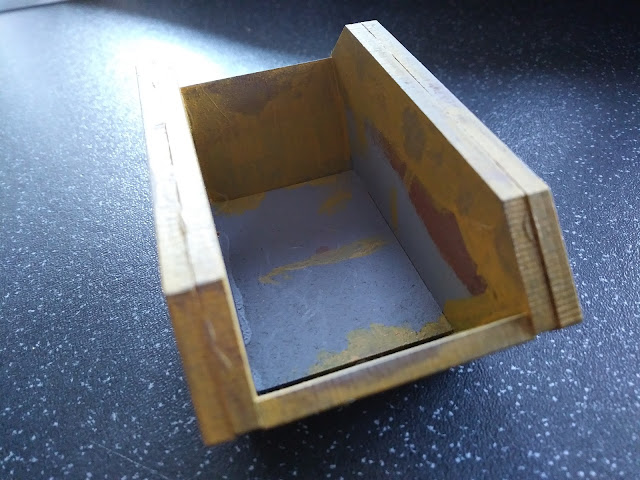
While it was drying a used the flat edge of a wooden coffee stirrer to gently rub away the yellow to reveal the layers underneath. Now I rubbed a bit to hard in places and went down to the grey primer but that worked for me too as it looked like it went down to the base metal of the skip, but it is a warning and I might prime other models with brown primer if I don't want the grey to show (or just be more careful).
 |
| the model on the right is a pinkish orange, yes I have seen skips this colour! |
Of course with this stage completed I moved onto the next part and that was to fill the skips, I wanted both to be filled as an empty one just doesn't exist - does it! Easily achieved by adding blue foam bricks and mdf castoffs and filling the rest with fine sand. I then poured watered down PVA glue into the skip about 5 times, allowing it to dry thoroughly in between.
Finally I painted the mdf scraps and bluefoam to represent wood beams and bricks and covered the whole lot in a black/brown wash to "dirty it up", I then dry brushed some bright rust to the very edges of the skips and voila!
and on the boards with some acrylic resin traffic cones that I also got from TT.
See what I mean by big! The nasty trio of mercenaries hunting Anna are head height to them, still they are very nice and a welcome detail to my emerging boards.
hope you enjoy
dGG


