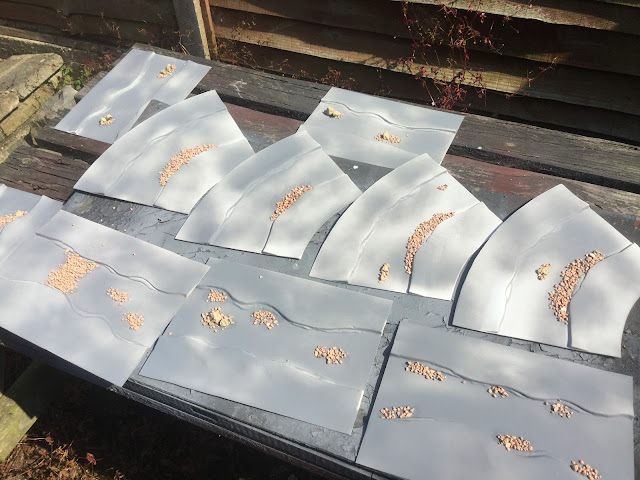
As the title suggests, I have finished my river sections from my previous post which you can find here.
Following the base coats of emulsion I gave all of the sections a heavy wash, which I made myself using Luke's video for home made washes which you can find Here
So to progress this terrain, it needs to have the river beds painted, now this is where I have fallen foul before by not getting the colouring right and ending up with very blue rivers, which is fine but hasn't been very satisfying in its lack of realism. So I went back to my Pirates board and looked at the waterways I used here. I referred back to my colour chart
I ended up painting these, I also made sure that each layer matched at the ends of each section so that the pieces are totally useable in any configuration without looking odd...
So after painting it was time to add any extra features that I wanted for the river. I'd already made a couple of ford sections and put the rocks/pebbles onto the sections before painting so I just needed to add foliage, grass, and any debris in the water. To this end I used all of my foliage options in da Grotto. Static grass from Army Painter, clump foliage from Scenics, weeds from Scenics, tufts from Army Painter and Tajima all came out and got added. I used my leaf cutter on real leaves, I used twigs from the garden all to produce these.....
Finally I sealed the lot with watered down PVA and then Matt sealer spray. Then it was time for the water effect. This causes me to get nervous, this is the irrovacable step, if it gets messed up then a large investment in time and money goes down the tubes. I used 2 part epoxy, the same as I used on my pirates board above. 2x tubes per straight and bend section and 1x tube per sharp corner, costing me a pretty penny, but this is the result...
I love them, the epoxy allows me to sculpt the water to create movement and flow, you do have to move quickly but it totally eliminates hours (days) of drying time with other mediums.
let me know what you think.
on a side note, my previous river sections - which were decent but fell a little short of what I wanted have gone to a good home and are still going to get game time.
hope you enjoy
dGG


