I've actually started doing some bits for the Flash Point Zoo project for Uncon. I will be putting it out on the video diary but I thought I'd give you a sneak peak of the 3D fire tokens that I've been putting together. I used Vallejo paints throughout this project bar the black primer.
First I had to buy the mdf tokens, I got 35mm rounds from Minibits specially made and these would form the bases. I then made a trip to a pound shop and got myself some white bathroom sealant.
and made these...

starting with a little blob of sealant, I let it dry completely before using the gun to add little cones of sealant all over the base, in an effort to make a vague fire type shape.

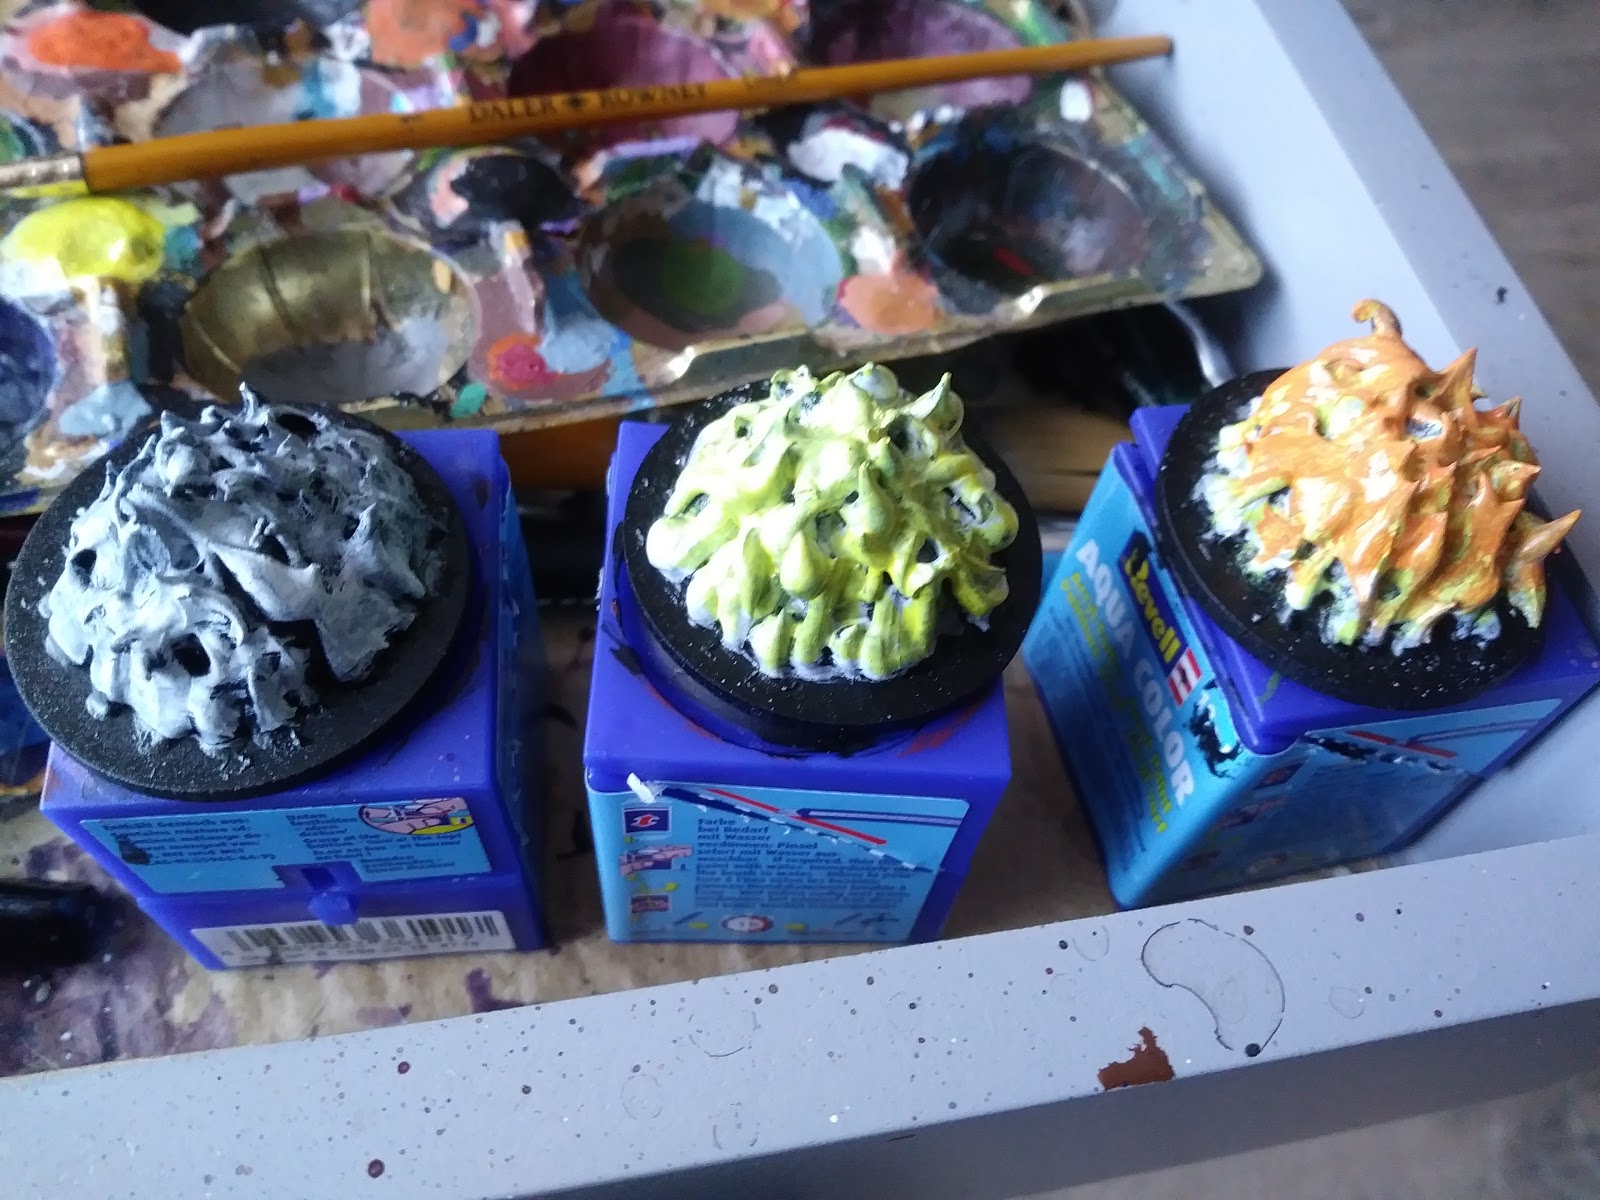
after that I sprayed the whole thing with black primer, to add shadow and to cover the base. Once dried I very roughly covered the flames in white paint, more of a very heavy drybrush.
I then took a big brush and started to roughly paint a bright yellow across he model, leaving a white rim at the bottom of the flames. Then a bright orange...

after that I switched to an orange red...

then a bright red, followed by a dark red. All the time I let a small amount of the previous colour show at the bottom and all the time starting the next layer as the previous was drying - almost a wet blend.

once dried, I covered the whole thing with GW red wash...

then drybrushed the whole thing with a brown/orange...

then a lighter drybrush of bright yellow...

and finally a very light drybrush of pure white....

then I just tidied up the bases and voila...


hope you enjoy
dGG
Nice!
ReplyDeleteThanks Lee
DeleteI wasn't too impressed with the painting of them until I saw those last two photos. I presume you used your flash on them and it really brings them to life. Nicely painted firemen and pooch, too.
ReplyDeleteYeah, you know me and my photography - my pics suck! Tbh the painting didn’t pop until the last few layers
DeleteGreat looking tokens Andy, you can do a similar thing with translucent sealant and paint them with washes and glazes to add to the fire effect. Just make sure to leave the sealant to go fully clear before adding paint
ReplyDeleteGood to know Dave, cheers 😃
DeleteMarvellous little fire-making posting, Andy. :-)
ReplyDeleteCheers Simon
DeleteThey certainly work! Cracking job Andy.
ReplyDeleteThanks Michael
DeleteExcellent looking markers Andy - the close ups with the flash really do show them to their best :-)
ReplyDeleteI'm going to have a word with my better half, she does a lot of decorative cake stuff and I know some of the piping nozzles (for butter cream / icing) create multiple "leaf" textures which might be useful for flames.
That’s a good idea mate
DeleteFire is a very tricky thing to model and paint, your idea with the sealant looks convincing, I tried DAS for small campfires that I thought had potential but I don't think could be used for anything bigger like you need.
ReplyDeleteColour is very subjective both in the photo and then on the screen, there is a huge difference between the final two photos and the others and they look far better as well.
So a big tick on what is probably going to be the most difficult thing you have to try and represent convincingly.
I'm looking forward to see how they look in the game.
It is incredibly tricky John, time consuming too
DeleteThat's a very long process to get to the final product, but well worth it, though without the last two photos, I wouldn't have been convinced.
ReplyDeleteSame with the painting Joe, I wasn’t convinced until the last two layers
DeleteVery effective Sir!
ReplyDeleteCheers Ray
DeleteVery nice work, Andy. I have to admit as the process went on, I was thinking "that looks more green than yellow..." but the final two photos with the flash show just how effective they are.
ReplyDeleteRegarding using clear sealant, you do need to ensure that the base is painted first, otherwise the colour of the base will show through (in this case brown) which would detract from the overall effect you're going for. And both types can be teased up with a pin or toothpick to get 'wavy' flame effects that remain remarkably robust when set.
I know the initial photos were naff, but they finally come good 😉
DeleteThey are still a work in progress, so will try out the toothpick method - cheers
Hmm, interesting. I need to do something like this myself for my Paleo Diet/Mammoth Hunting games. This is a timely reminder as well as an inspirational tutorial - thanks.
ReplyDeleteNo problem mate
Delete